Here is the Row Counter Tutorial!!
Before printing, please read the following information!
** I have created this tutuorial to help fellow knitters create beautiful knitting jewelry.
DO NOT copy and paste this to your website or blog.
You MAY link this page directly if you wish.
If you own a knitting or bead shop, you may NOT print this out for your distribution without written consent from me!
Please email me at designsbykatie (at) hotmail (dot) com for questions concerning this!**
Happy Beading!!
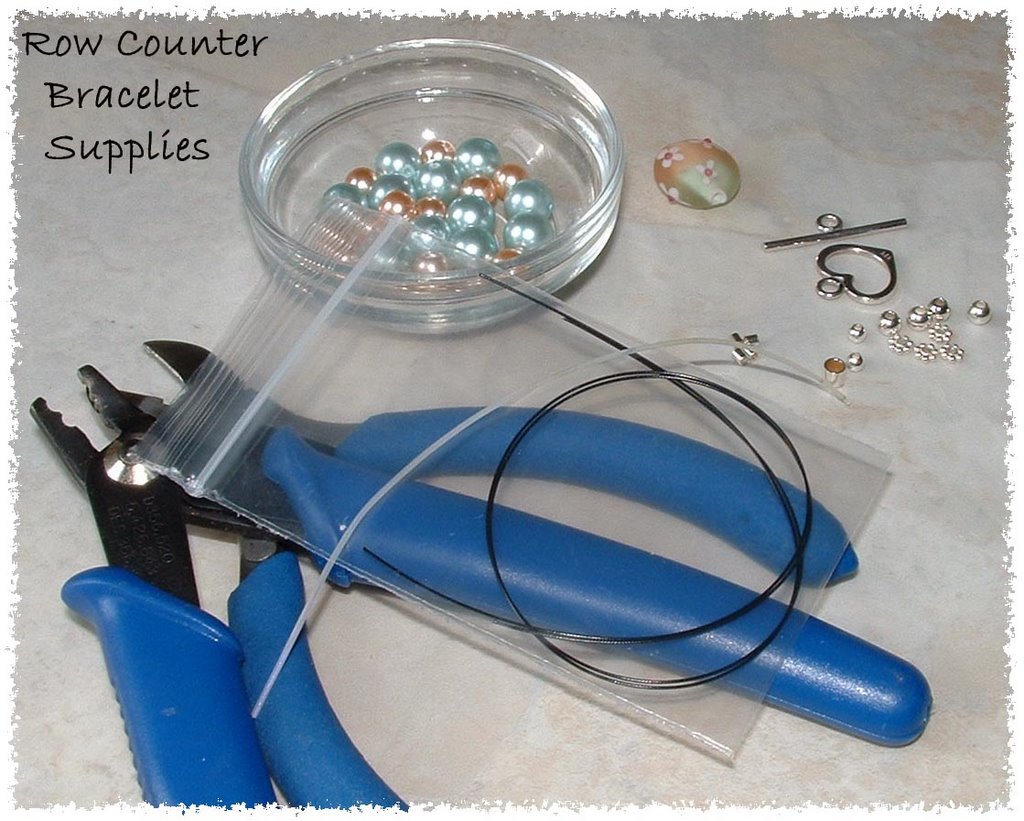
Supplies:
1 medium size toggle
4 2X2 " crimps
1 3X3" crimps
1 fancy lampwork bead (bead shown by Melanie Egan)
10 large glass based pearls (8 mm)
15 small glass based pearls (6mm)
4" of elastic beading cord
2 9" pieces of colored beading wire .019" (wire shown from Fire Mountain Gems)
(remember wire will be exposed, colored wire is nicer for this project)
Assorted accent beads and spacers
Wire cutters, Scissors and Crimping Tool
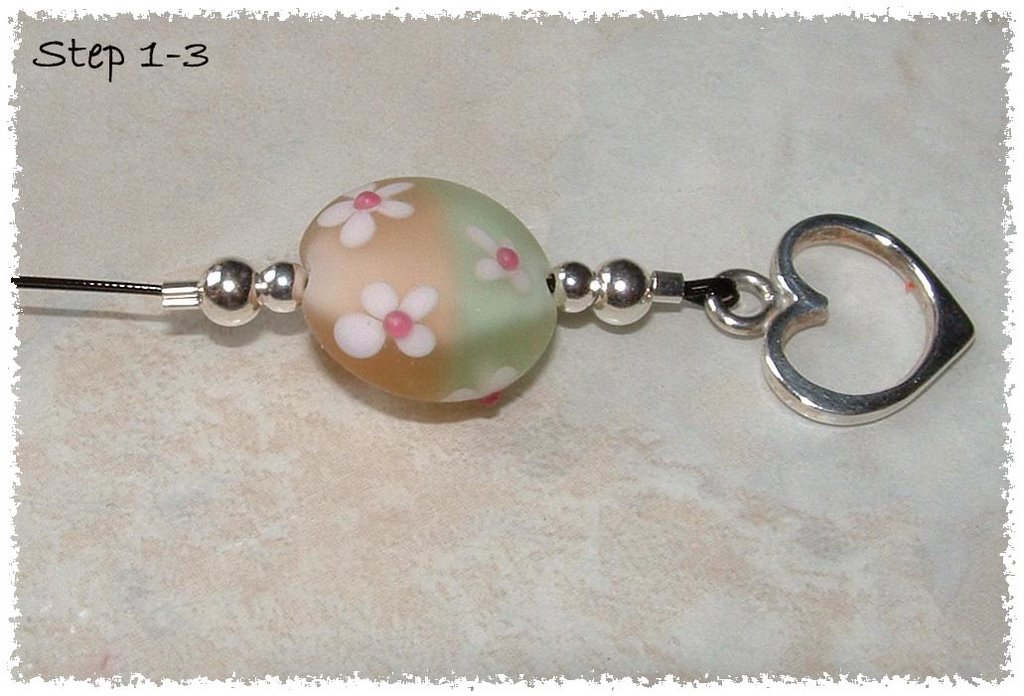 Step 1: Insert BOTH strands of beading wire through toggle and 2X2 crimp bead. Fold over leaving room for toggle to move freely and insert back through the crimp bead forming a loop. Crimp bead - do not trim excess wire at crimp!
Step 2: Add accent beads and lampwork, covering excess wire with beads.
Step 3: Add second 2X2 crimp bead and crimp flush with beads.
Step 4: On one wire, add 9 of the small pearls and on the other wire add 10 of the large pearls.

Step 5: Make Marker. Thread 5 6mm pearls on elastic cord. Thread 3X3 crimp through BOTH ends as shown. Pull tightly, forming a circle and crimp. Trim off excess cording at crimp.
Step 6: Thread marker over BOTH wires.

Step 7: Measure 5 1/2" (for average wrist) from second crimp bead. Add another 2X2" crimp bead at 51/2" mark and crimp.

Step 9: Loop beading wire and toggle bar through the crimp and accent beads as shown. Crimp and trim access wire! YOU ARE FINISHED!
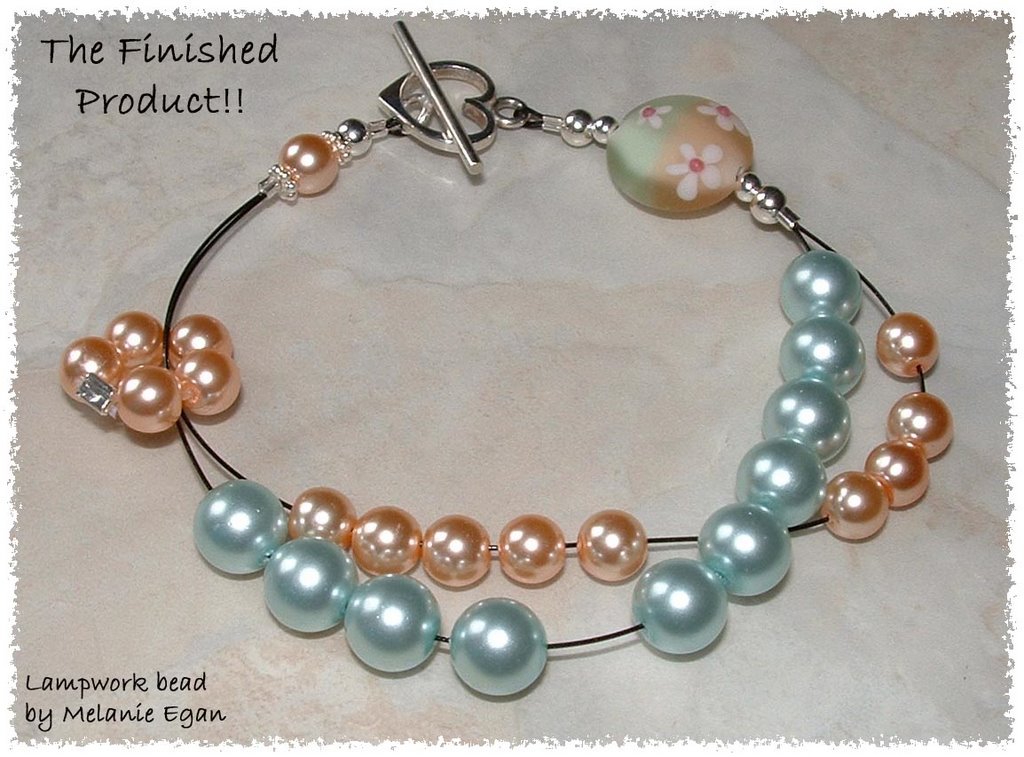
To use: For each row you knit, move one of the small beads through the marker. When all 9 beads are on the other side of the marker, move one of the BIG beads through the marker and move the 9 small beads back to the start. Repeat...... will count up to 100 rows!!! this would be very handy for travel! You can keep track of your knitting and still wear a pretty bracelet at the same time!

